Option 1: Remote - Tunnels
VS Code has added an extension called 'Remote - Tunnels', allowing VS Code to work remotely on a pre-configured workstation. This allows you to utilize a pre-configured environment for your coding! Computer Science offers a server "codetunnel.cs.calvin.edu" that can be utilized to setup a remote VS tunnel to allow development in a lab-like environment while utilizing VS Code on your own machine. Any terminals opened within VS Code after connecting to the remote tunnel will act just like they do on a lab-machine.
There are several one-time setup steps that you will need to follow to configure this on your own machine. After initial setup, you will have a smaller set of steps to utilize this in the future.
One-time Setup
- You must have a GitHub account to use this service. If you do not have a Github account, you must create one first. https://github.com
- Install VS Code on your own computer. *** Note: you do NOT need to install any compilers, WSL, etc when using this method! ***
- Install the Remote - Tunnels VS Code extension into your VS Code.
- Connect to the codetunnel hosting server:
- Log into Remote Lab Access Guacamole, then select "Calvin CS Labs" -> "Linux - VSCode Tunnel".

(Alternately, you can SSH to cs-ssh and then to codetunnel.cs.calvin.edu . See this for more information.) - Run the command:
code tunnel --accept-server-license-terms
You will be prompted to log into GitHub to complete the setup. Note the device code that is given. - Grant access by clicking https://github.com/login/device. Use the code that is specified, and "Authorize Visual-Studio-Code"..
- After authenticating, your codetunnel screen output should have changed. You will be provided a tunnel name that is randomly generated. (Example: recursing-duckbill) Make a note of this name.
- Log into Remote Lab Access Guacamole, then select "Calvin CS Labs" -> "Linux - VSCode Tunnel".
- Continue in the VS Code Usage section.
Normal Startup
- Connect to the codetunnel hosting server:
- Log into Remote Lab Access Guacamole, then select "Calvin CS Labs" -> "Linux - VSCode Tunnel".
(Alternately, you can SSH to cs-ssh and then to codetunnel.cs.calvin.edu . See this for more information.) - Run the command:
code tunnel
Note the provided tunnel name that is randomly generated. (Example: recursing-duckbill)
- Log into Remote Lab Access Guacamole, then select "Calvin CS Labs" -> "Linux - VSCode Tunnel".
- Continue in the VS Code Usage section.
VS Code Usage
After starting a code tunnel server, you can use these steps to connect in your VS Code instance.
- Open VS Code, and open the Command Palette (F1)
- Search for "Connect to Tunnel" and click it:

- You may be prompted to log into GitHub if you aren't already on this computer.
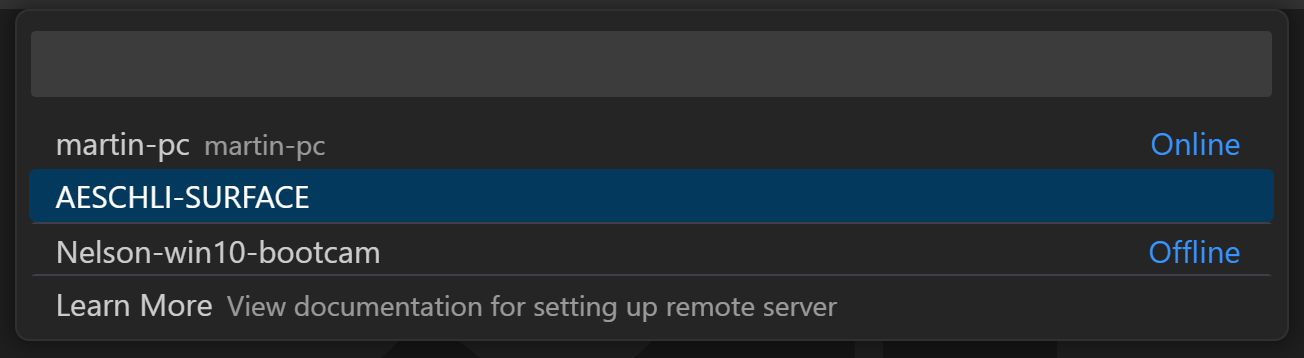
- Select from the list of tunnels, matching the name of the one that was assigned --- probably "codetunnel".
- Be patient as the remote connect establishes. This step may take 1-3 minutes. When things are ready, you will notice the remote indicator in the lower left corner now shows the name of the tunnel.
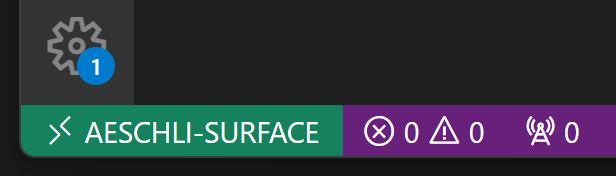
- Done!
When you are done with your session, close your tunnel in VS Code and log out of Guacamole / codetunnel. Ctrl + C can be used to close your code server.
(Some images taken from https://marketplace.visualstudio.com/items?itemName=ms-vscode.remote-server.)