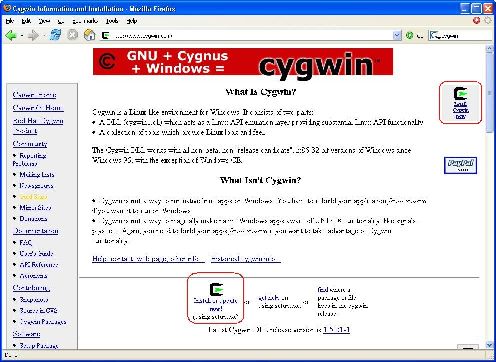
On that page, find and click one of the "Install or update now!" links:
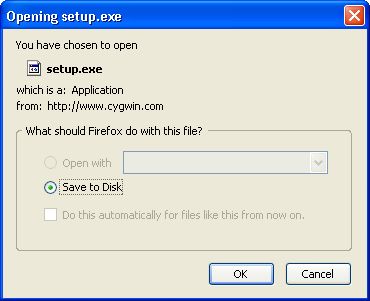
A Setup dialog box will appear.
Make sure that the "Save to Disk" radio button is selected; then click the OK button:
A dialog will appear asking where you want to save setup.exe.
Save it to your Desktop.
There should now be a file named setup.exe on your Desktop.
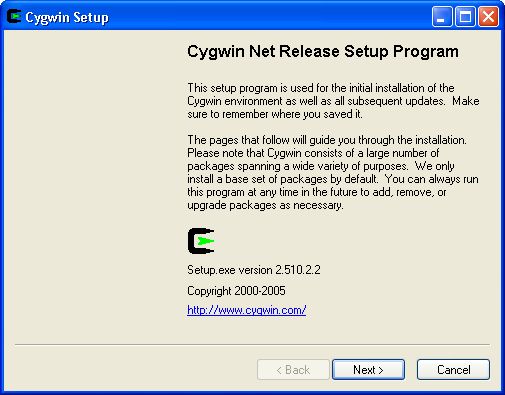
Double-click it to launch the Cygwin setup utility:
The Cygwin Setup dialog will appear. Click the Next button:
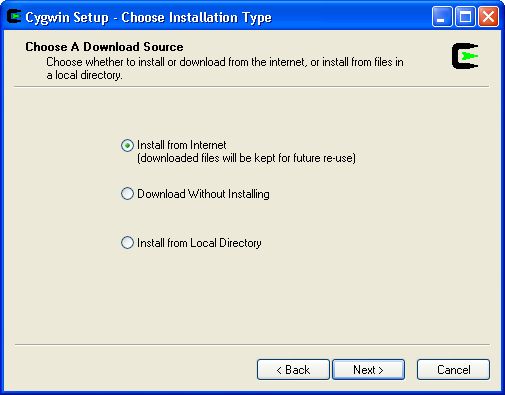
A second Cygwin Setup dialog will appear, asking how you want to install.
Make sure that the "Install from Internet" radio button is selected;
then click the Next button:
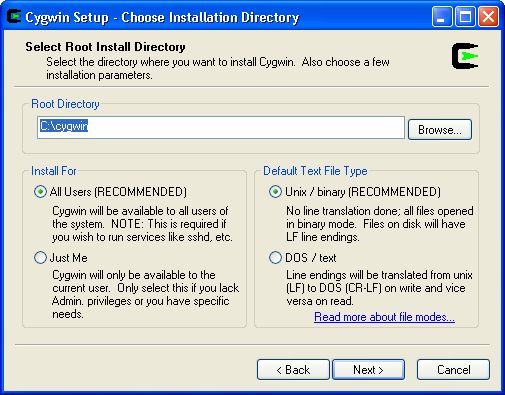
A third Cygwin Setup dialog will appear, asking where you want to install.
Check that the Root folder setting is C:\cygwin.
Make sure that the "All Users" radio button is selected;
then click the Next button:
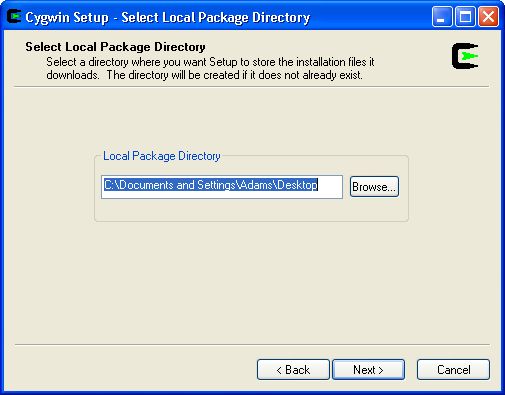
A fourth Cygwin Setup dialog will appear, asking where you want packages
to be stored during the installation.
Check that your Desktop folder is specified, and click the Next button:
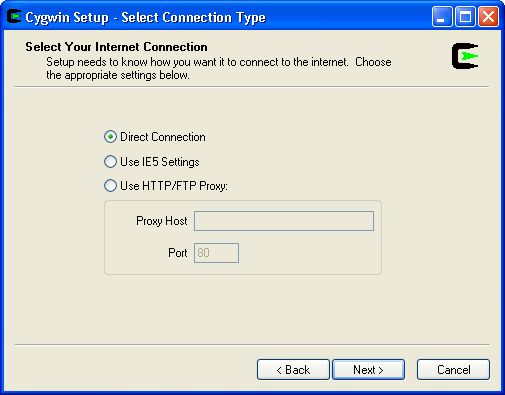
A fifth Cygwin Setup dialog will appear, asking you to specify your Internet connection.
Make sure that the "Direct Connection" radio button is selected;
then click the Next button:
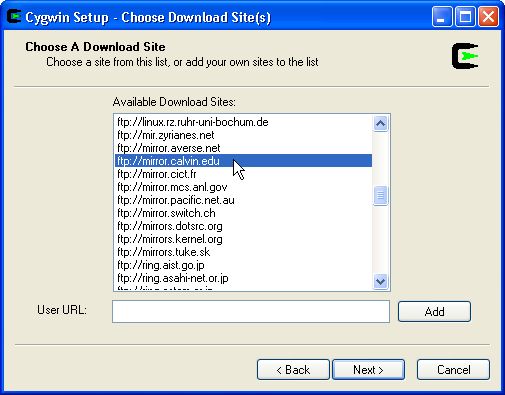
A sixth Cygwin Setup dialog will appear, asking you to specify
the site from which you download Cygwin.
If you are at on-campus at Calvin, select ftp://mirror.calvin.edu;
otherwise, select the site that is geographically the closest to you,
and click the Next button:
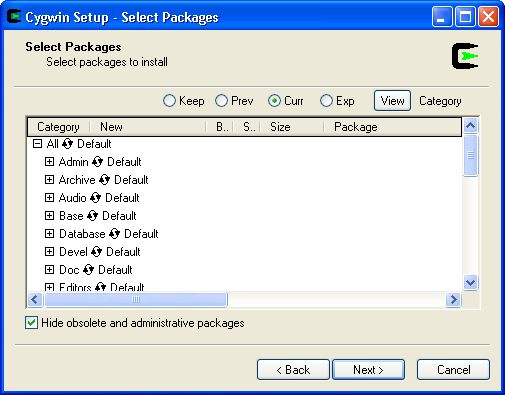
After a brief delay, a seventh Cygwin Setup dialog will appear,
asking you to specify the packages you want to install:
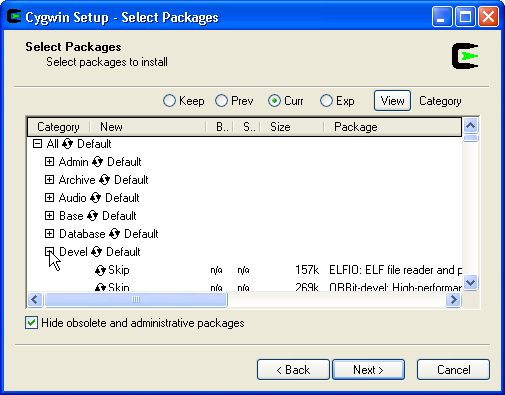
Click the + next to Devel, to expose the developer packages:
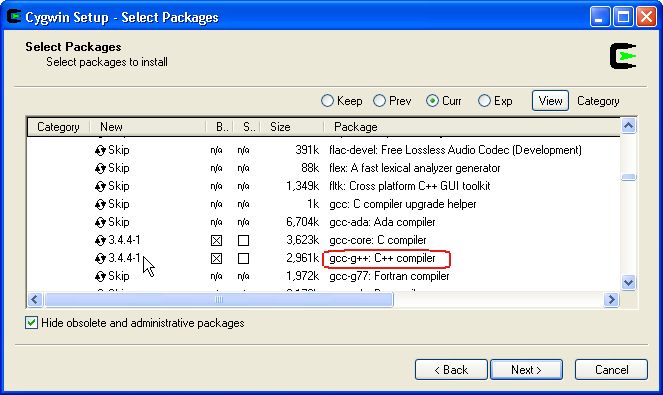
Scroll down until you see the gcc-g++ C++ compiler package.
Click the Skip setting for this package to select it.
Doing so will also cause the gcc-core C compiler to be selected:
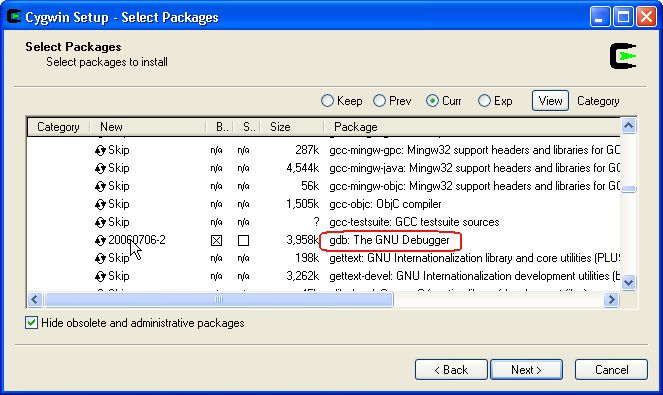
Scroll down until you see the gdb GNU debugger package.
Click the Skip setting for this package to select it:
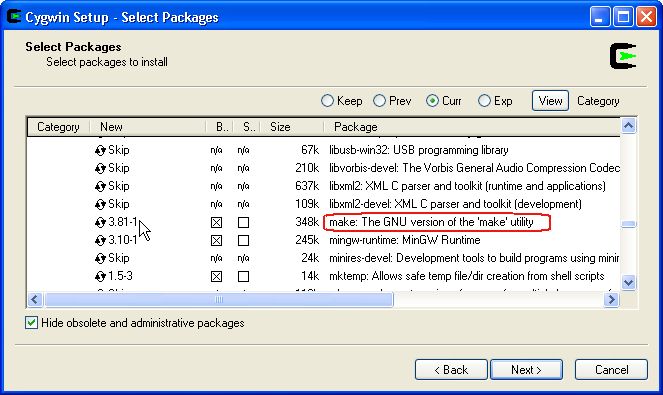
Scroll down until you see the GNU version of the make package.
Click the Skip setting for this package to select it:
With all of the needed packages selected, we are finally ready, so
click the Next button.
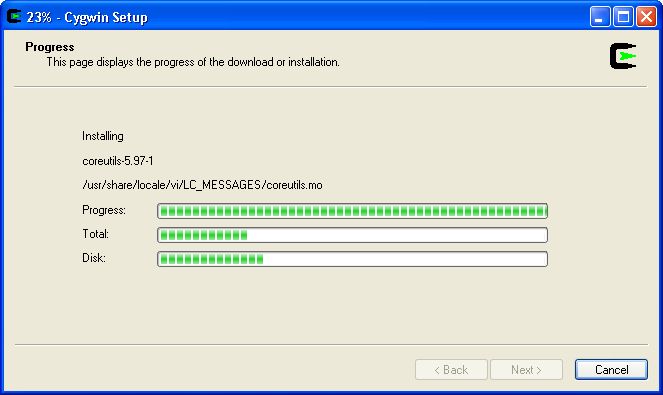
The installer will then begin installing the packages, displaying a
progress dialog box:
When it finished, click the Finish button.
An Installation Complete dialog will appear;
click its OK button.
Congratulations! You've just installed g++, gdb, and
make!