Here are some tips:
Most recently tested on FreeBSD 4.11
means use FreeBSD 4.11.- It is extremely important that /share be on a separate
file system as is stressed in the documentation.
- See our defs file for details on what specific information you need to put in this critical file.
The first part of setup-db.txt is straightforward, but here is a useful tip. Circle the commands as you encounter them, for example,
If you added page numbers, it would be a good idea to note how to find that command. You can never remember it and you can never find it. A colored paper clip would also be a good idea.
At various points you are warned against editing files directly. Listen to this advice.
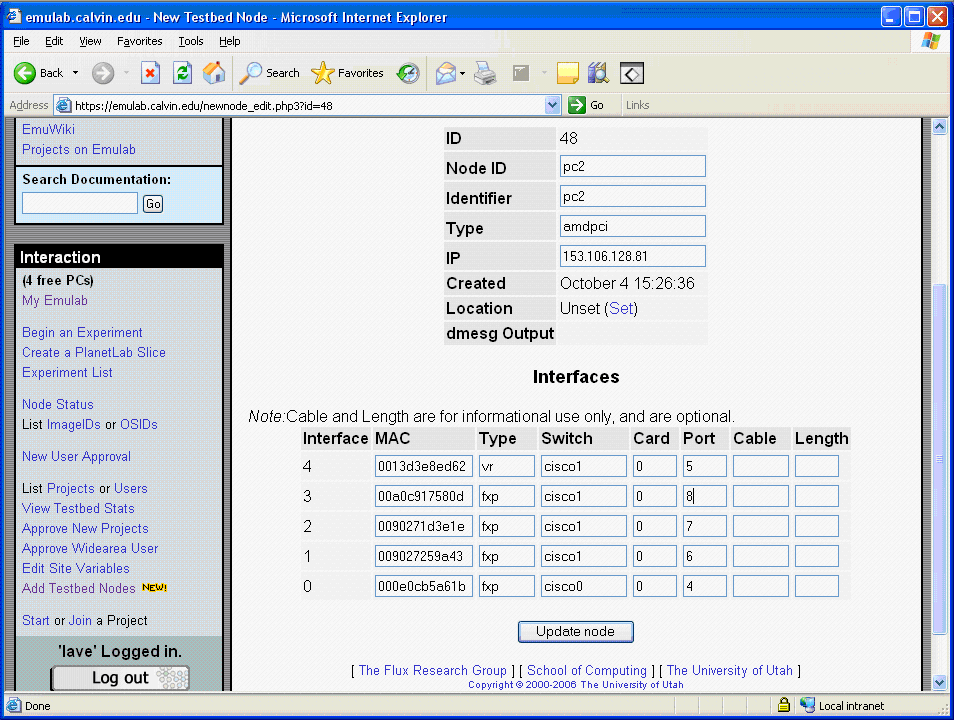
Ah, but your're not done yet. You need to add two entries for the node, one in tiplines and one in outlets. More on that later.
The second part of setup-db.txt deals with protecting the webdb script and determining which users have the ability to edit the database. >p> The third part of setup-db.txt deals with switches. This is a tough section, and you should know something about Cisco switches or have someone around who does. You start by using the GUI interface but the "new_type=1" warns you that you aren't coming back here. We chose "cisco1950-ios" for our type and proc (not "processor") in the node_types table, and "switch" as the class (duh!).
For the interface types we followed the example in the notes changing only the number of ports and the model. Note! It really is "manufacturuer", do not try to fix the misspelling!
We slavishly imitated the interface_capabilities and nodes entries for our switches.
Since we do connect our experimental switches together, we added interfaces for each of them.
Upon examining the entries under switch_stack_types and switch_stacks, I have discovered that we did not follow the directions very well. Some research will be required before I continue.
In step 4, power controllers, we seem to have strayed a bit. We added nodes called "power1", "power2", and "power3" and gave them a new type, "EPC". In /usr/testbed/bin/power we added code to deal with our type or power controller. See power_hack.
First off, we got an inside tip from Hussam Nasir at Kentucky. On boss there is a directory called /tftpboot under which you will find three important README files, freebsd.newnode/boot/README, freebsd/boot/README, and frisbee/boot/README. These files tell you how to run a script called prepare that simply produced "gzip'ed" versions of files to speed the various boot processes. There is no reason not to perform this step first.
Second, there comes a point as you follow the directions in setup-nodes.txt (the exact point is still debatable in my mind) where you must perform a subroutine call. So follow the directions until you arrive at the point labelled "#### Bringing up the first node". On the next page you encounter "#### Bringing up the rest of the nodes", but there is quite a bit to do in between, and you will find the directions in customize-image.txt. Skeptical? See the line near the middle of the page that reads, "If you have followed the Emulab setup directions and have added nodes to your testbed to the point where they are now in the "hwdown" experiment, they should already be in the admin MFS." What you do is slogin or connect by serial console, load an image on the node, customize the image to your situation (your keys etc.), and then save the image back on boss for future use on all your other machines. The directions are actually straightforward, and the good news is that it is really true that once you have one node the rest are really easy. We did find that it was best to add nodes one at a time to avoid confusion (the alternative is the write down all their MAC addresses).