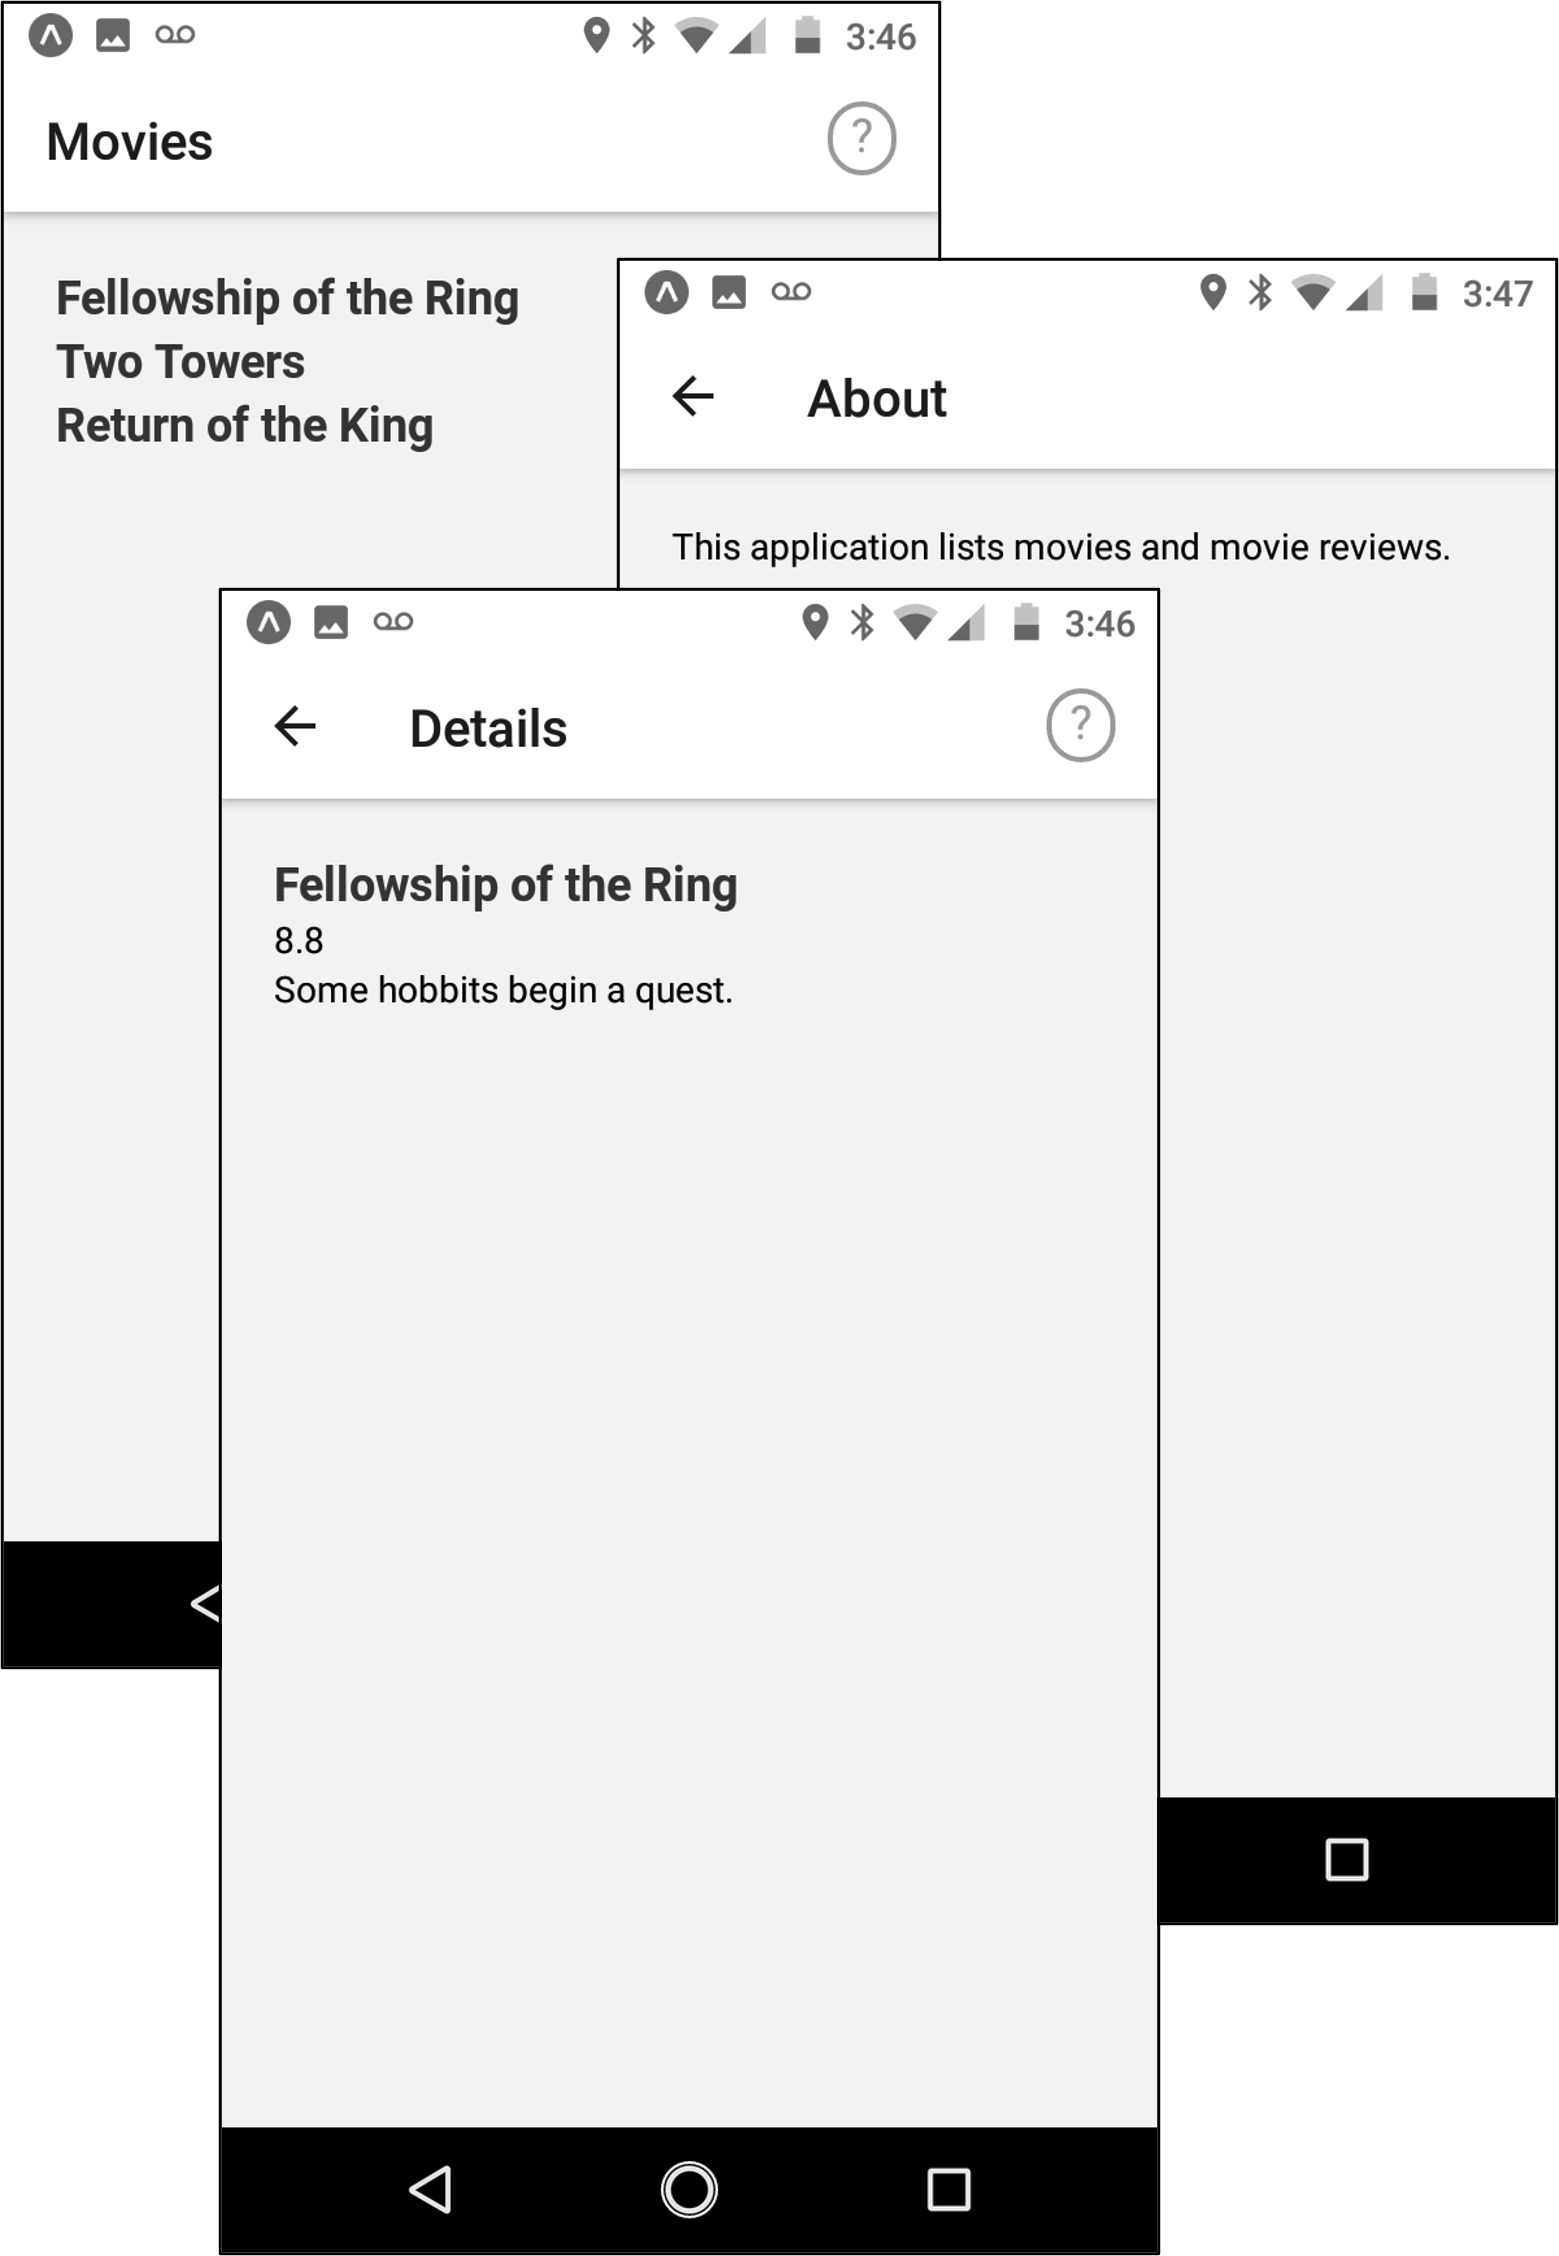
We’ll explore the use of React Context in this exercise by refactoring an app that uses Expo route parameters into an app that uses Context. The app displays a list of items for sale and gives details on them (see the example on the right).
-
Download the items-app from items-app.zip, unzip it into
lab05/item-app, get it to run, and then do the following.- Study the code, find where URL parameters are used, and consider whether the app follows the principles of parameters discussed in the guide.
- Run the app and find the key feature that doesn’t work properly. Keeping an eye on the console output might give you a hint here.
- Find the code where this feature should be implemented and be able to explain why it can’t be implemented given the current design of the app.
-
Modify the items-app to use React Context state management, following the three “steps" discussed in Passing Data Deeply with Context, but applying it, here, to route navigation. Notes:
-
Step 1: Create the Context — This step is already done for you. Notes:
- Study
context/ItemContext.tsx, which is fully implemented but isn’t currently being used by the app. - Be sure that you can explain the nature and use
of:
ItemContextType— This context is a bit more complex than the one in the guide tutorial; take note of the two elements it bundles.ItemContext(and its accessor:useItemContext()) — This is bit more complex as well; TypeScript will force us to use the error-checking specified in the accessor rather than using the context object directly.
- Study
-
Step 3: Provide the Context — This step is easier, so we’ll do it next. Notes:
- In
app/app/_layout.tsx, use theItemProviderto wrap both the index and details screen components. - Be sure that you can explain the nature and use
of:
ItemProvider— We’re using this as our context wrapper.
- In
-
Step 2: Use the Context — And now, we refactor the screen components to use the context as follows.
- In
app/index.tsx:- Get the items from the context rather
than from the JSON file using the
useItemContext()accessor. Because you only need the items here, use an object-destructuring assignment:
const { items } = useItemContext(); - Instead of passing the full item list as
a parameter, pass only the
item.id.
- Get the items from the context rather
than from the JSON file using the
- In
app/details.tsx:- Get only the item
idfrom the search parameters. - Get both
itemsanddeleteItemfrom the context, using a destructuring assignment similar to the one you used above. - Instead of parsing the selected item
from the parameter, use the
idto find the selected item in theitemslist. Use the list find function with a fallback value as a default:
const selectedItem: Item = items.find(item => item.id === id) || defaultItem; - Finally, replace the console.log call
with a call to the delete function from
the context:
deleteItem(selectedItem.id)
- Get only the item
- Consider whether this combination of parameters and context matches with the recommendations in the guide on what should and should not be in the parameters.
- In
-
When you have the updated app running on your device, save a screen
shot of the main list with one or more of the items deleted (e.g.
the example on the right has only two remaining items listed), and
add a new lab05/README.md that answers to the following
questions:
- Why couldn’t the original app, as implemented before you made the changes in this exercise, delete any items from the list?
- What would you do to update this app to allow users to add a new item and to update an existing item? Just explain what you’d do, without giving any code.
- Did the old implementation follow the best practices for URL parameters? Does the new version?
- The
deleteItemis wrapped byuseCallback. What good does this do? - Can what you’ve done in this exercise be seen as refactoring the original app?
Submit this application by pushing it to your cs262
repo, including: lab05/item-app/;
lab05/screenshot.png; and lab05/README.md.