
We have now discussed the most basic control structures and can start using them in combination. In this lab, we work with images, which can be seen as two-dimensional collections of pixels. We work with such structures using a variety of combinations of sequence, selection and iteration, notably multidimensional iteration in which one loop is placed inside another.
An image is encoded as a two-dimensional grid of pixels. Each pixel is addressed using its x index and its y index, and represents its color using separate intensity values for red, green and blue.
![]()
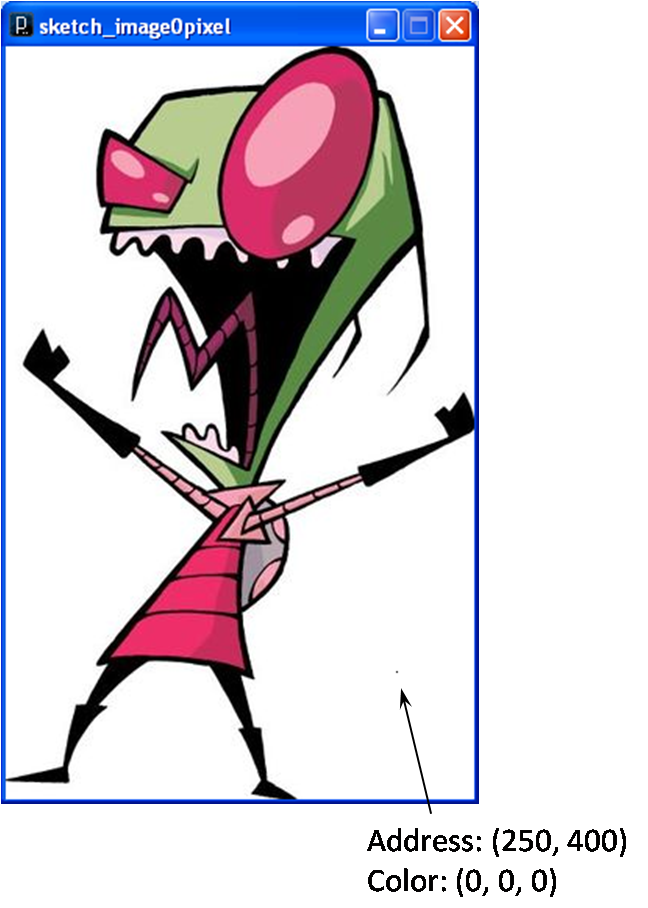
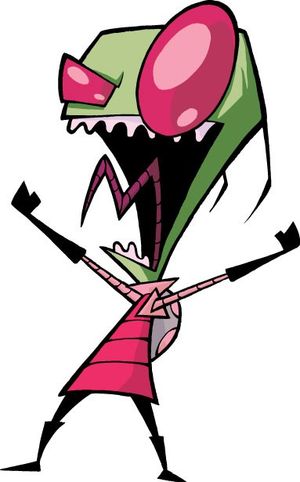
Here, the image of Zim is 300 pixels wide and 482 pixels high. The background pixels of the image are all white (255, 255, 255), but the pixel at address (115, 32) is a shade of magenta (169, 66, 96).
We work with images by manipulating their pixels.
|
PImage zim;

void setup() {
  zim = loadImage("zim-large.jpg");
  size(zim.width, zim.height);
  noLoop();
}

void draw() {
  zim.set(250, 400, color(0,0,0));
  image(zim, 0, 0);
}
|
In this program, we load an image of Zim and set the pixel at
address (250, 400) to black. This places a small black spec (a
pixel!) in the lower right part of the image (address (250,
400)!). Note that the command zim.set(250, 400, color(0, 0,
0)) asks the zim image object to set its pixel at position
(250, 400) to color (0, 0, 0); we’ll detail these basic
commands below.
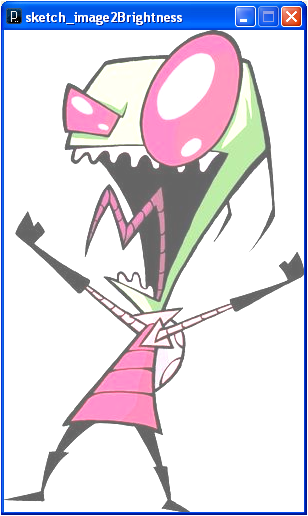
Using these commands, we can manipulate the image by visiting all the pixels and changing them in systematic ways. Iteration provides a concise way to program systematic operations on a large number of pixels (e.g., there are 144,600 pixels in the Zim image!).
|
color c;
PImage zim;

void setup() {
  zim = loadImage("zim-large.jpg");
  size(zim.width, zim.height);
  noLoop();
}

void draw() {
  for (int i = 0; i < width; i++) {
    for (int j = 0; j < height; j++) {
      c = zim.get(i, j);
      zim.set(i, j, color(red(c) + 100,
                          green(c) + 100,
                          blue(c) + 100));
    }
  }
  image(zim, 0, 0);
}
|
Pattern:
for (xInit; xLoopCond; xStepExpr)
  for (yInit; yLoopCond; yStepExpr)
    statement
|
This program uses a nested loop to access each of the pixels in turn. For each pixel, it gets the color value of the pixel and sets a new color value that has larger RGB values. Here are the key image/color manipulation methods required for these sorts of manipulations:
imageObject.set(x,
      y, colorObject)
- This command sets the color of the
imageObject pixel at address
(x, x) to the color
specified by colorObject.imageObject.get(x,
y) - This command gets a color
object representing the color of the
imageObject pixel at address
(x, x).red(colorObject)
- This command gets the red value of
colorObject. green()
and blue() work in a similar manner.color(redValue,
greenValue,
blueValue) - This command
creates a new color object with the given intensity values for
red, green and blue.You can download digital images from the world-wide-web or create your own using a digital camera. Once digitized, any image can be manipulated by a program.
Examples of these effects (and others) are shown here.
Original: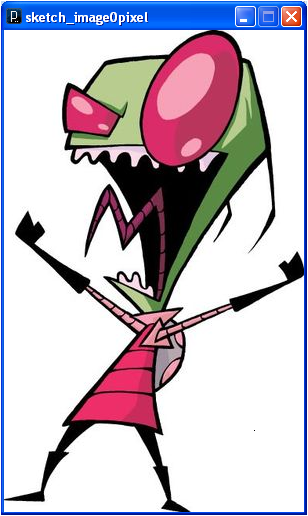 |
Negative: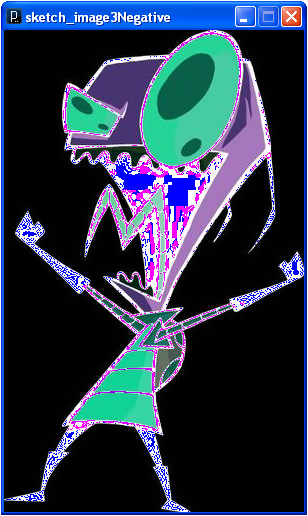 |
Grayscale: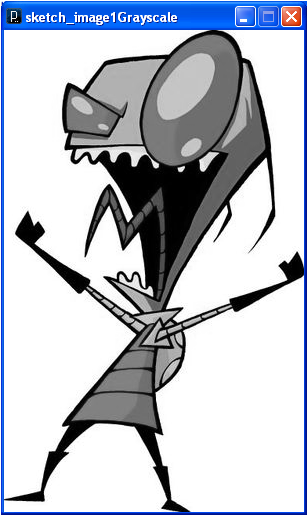 |
Sepia tone: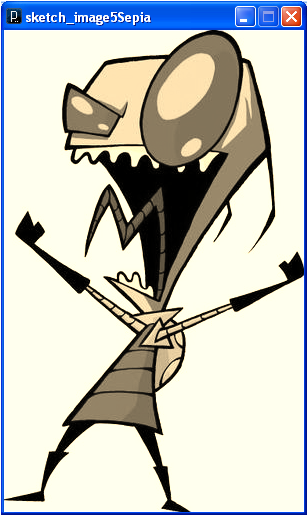 |
Blur: |
The Gnu Image Manipulation Package (GIMP - see http://www.gimp.org/) is an open source image manipulation package similar to Photoshop. If there is time, you can install GIMP and use it to work with your image. It uses algorithms such as the ones you’ve experimented with here to do all of its effects.
Submit your code for the lab exercises and include a screen capture for each.
