 is
a commonly-used IDE for program development in Java.
is
a commonly-used IDE for program development in Java.
Eclipse is
a commonly-used IDE for program development in Java.
You should each configure your own Eclipse environment, even if you are working in a team, so do these instructions individually. You can go back to your teams when you return to the main lab exercise.
On many systems there is an icon for you to double-click to start up Eclipse. If you’re
using Linux and without an Eclipse icon, enter this at a command-line prompt (the “
unix-%
” is the operating system prompt, you don’t need to type that, and the "
&
" tells unix to run the process in the background, letting you continue to use the command
prompt):
unix-%eclipse &
Either way, you’ll be prompted to specify a workspace directory; In general, we suggest
using the default, which is something like
/home/jdfrens/workspace
. You’ll have to start Eclipse this way every time you sit down to program. There’s a
checkbox you can check so that Eclipse does not continually ask you for your workspace
directory; if you didn’t check it this time, you can check it the next time you start
Eclipse.
Warning: Eclipse is very particular about its workspaces. Never move or remove projects from a workspace folder unless you use Eclipse itself to do this. Many students try to move a workspace to a new location without Eclipse’s help; really bad things will happen if you do this.
The Eclipse Platform will start up with a variety of windows like so:
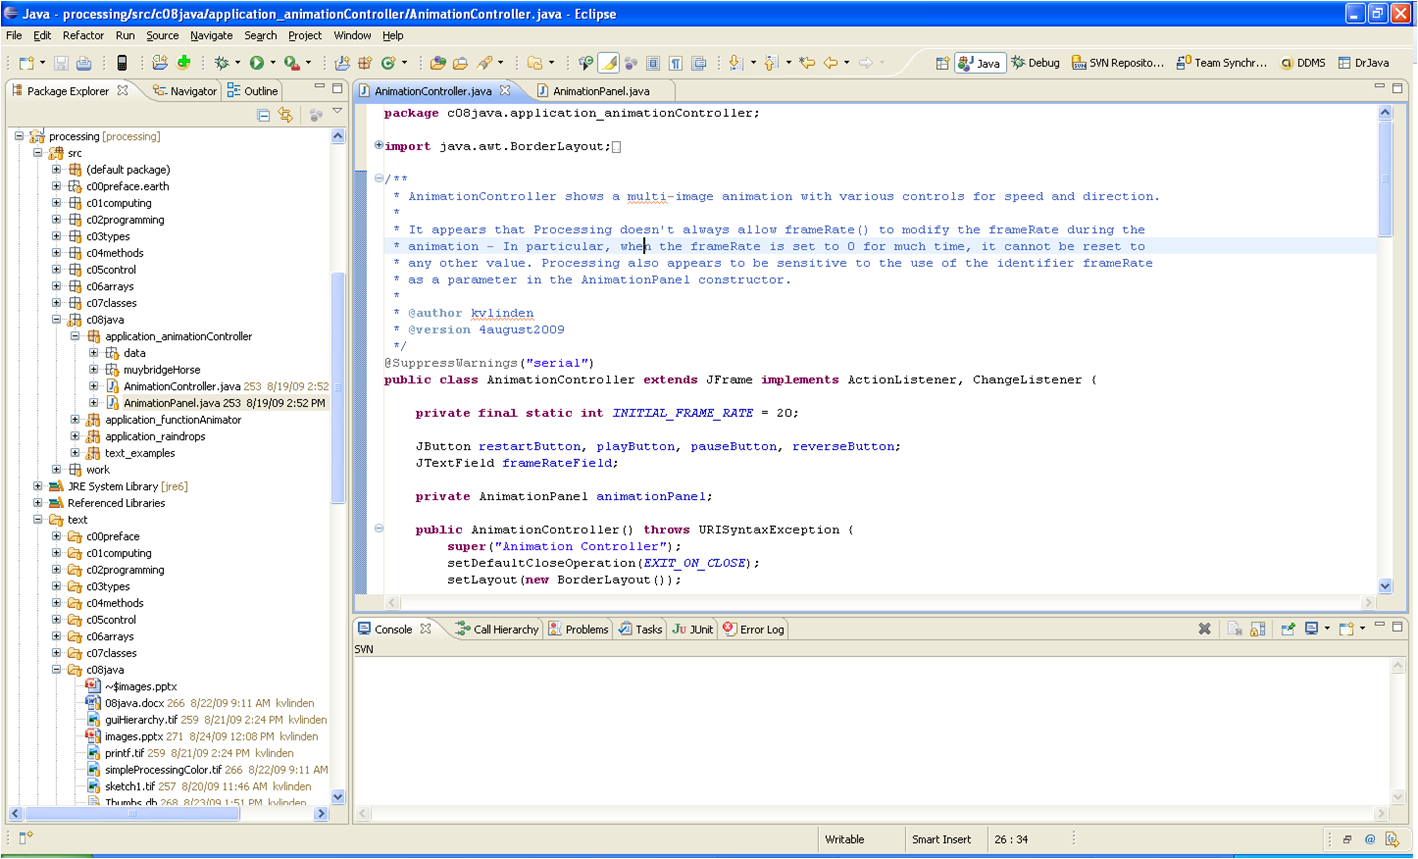
This is a picture of an active Eclipse user.
AnimationController
loaded in right now.
Eclipse uses projects to keep different software projects separate. For your purposes, think of everything you do for this lab manual as one project. Java itself provides other ways to keep each lab separate, so using one Eclipse project for every exercise in this lab manual makes a lot of sense.
Creating a project
processing
for the Project name; and press Next>. The other values in
this dialog window should be fine.
processingLibraryPath/core.jar
and press the Open button. Your instructor will tell you where the
Processing library is.
core.jar library.
Follow these directions to create your Processing project. You will add all your
packages/classes/prelab questions in the
src
directory.
You should now see a “processing” in the Package Explorer on the left side of the Eclipse. Expand the project by clicking on the triangle to the left of its folder icon. You’ll see a JRE (“Java Runtime Environment”) entry as well as the classpath variables.
You should have to create only this one project for this lab manual. Your instructor might ask you to create other projects for other work that you do; follow these same steps, changing names as appropriate.
You can create additional packages, directories and files in your project for various purposes. For example, each new lab and homework assignment asks you to create a new package to store its folders and files. You can do this as follows:
Creating a package in a project
edu.calvin.kvlinden.lab06 so that each student's package name
is unique. This package name will correspond to the path at which your files are located.
Directories and text files can be created in a similar manner. Text files should have a
.txt
extension and HTML files should have a
.html
extension. To edit a text or HTML files, you will probably need to right-click on the file and
choose “Open With”-”Text Editor”.
If you want to use your standard operating system to find the raw files that Eclipse creates and maintains, you can find them under the directory path: eclipseWorkspacePath/edu/calvin/yourLoginId/. Knowing this path is useful when you need to submit your work.