 is a unit testing framework for Java. These materials are based on JUnit 4.
 JUnit
is a unit testing framework for Java. These materials are based on JUnit 4.
Everything in Java revolves around classes. Previously, you’ve seen classes used to implement drivers . For this lab you will create classes used to implement test-cases . To create a JUnit test case class in Eclipse, do the following:
Test.This creates a new test case class to which can add test cases, which are implemented as
methods. For example, the following case contains two test statements that verify that the boolean
expression 1==1 is true, the second that the integer 1 equals 1, and the third that the
double 1.0 equals 1.0:
@Test
public void doNothingInterestingTest() {
	assertTrue(1==1);
	assertEquals(1, 1);
	assertEquals(1.0, 1.0, 1e-3);
}
Note that assertEquals() tests of double equivalence require a third parameter
that specifies an error tolerance. If any of these assertions fail, then JUnit automatically signals
a unit test failure.
A test class is not a typical Java application so you don’t run it as a Java Application. Instead, you run it as a JUnit test case (e.g., by choosing “Run”-“Run As”-“JUnit test case” Eclipse displays a successful JUnit test as shown here:
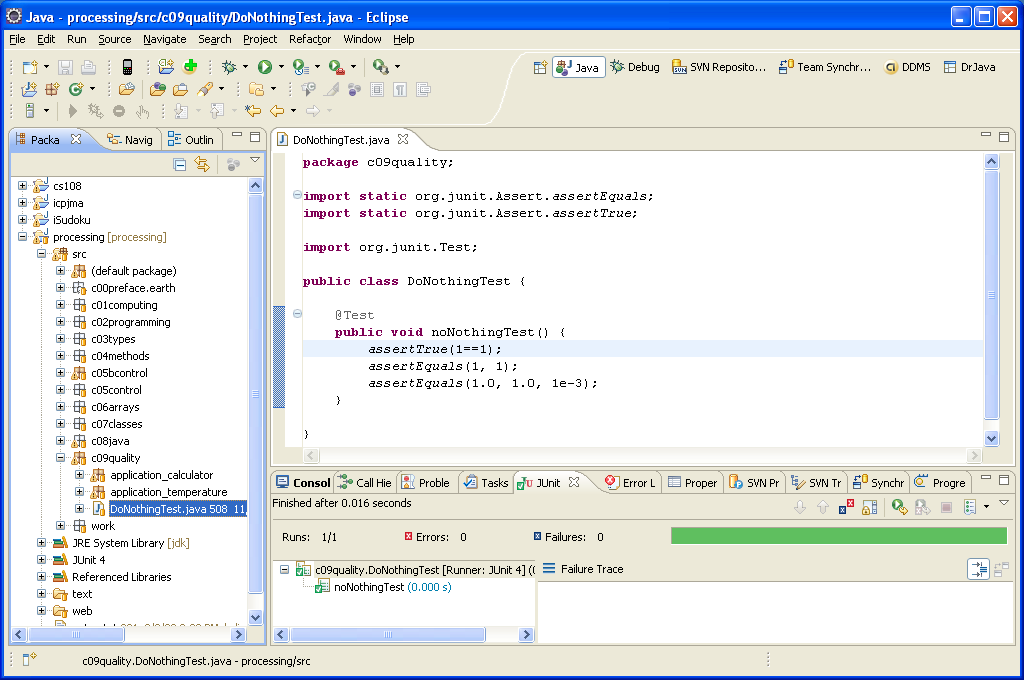
Here, the JUnit output is show in the panel on the bottom right. Note that a successful test case like this one displays a green bar, on the right, and a list of test cases that it ran, on the left. Because Eclipse allows you to run all of your test cases or a sub-set of them, make sure that when you run your test that all the test cases you expected to run are listed on the left.
Create and run a new test class with a single test case method that verifies the following:
true is indeed true;Math.PI (where “sufficiently”
means 3 decimal places - i.e., set the third argument of assertEquals() to a tolerance
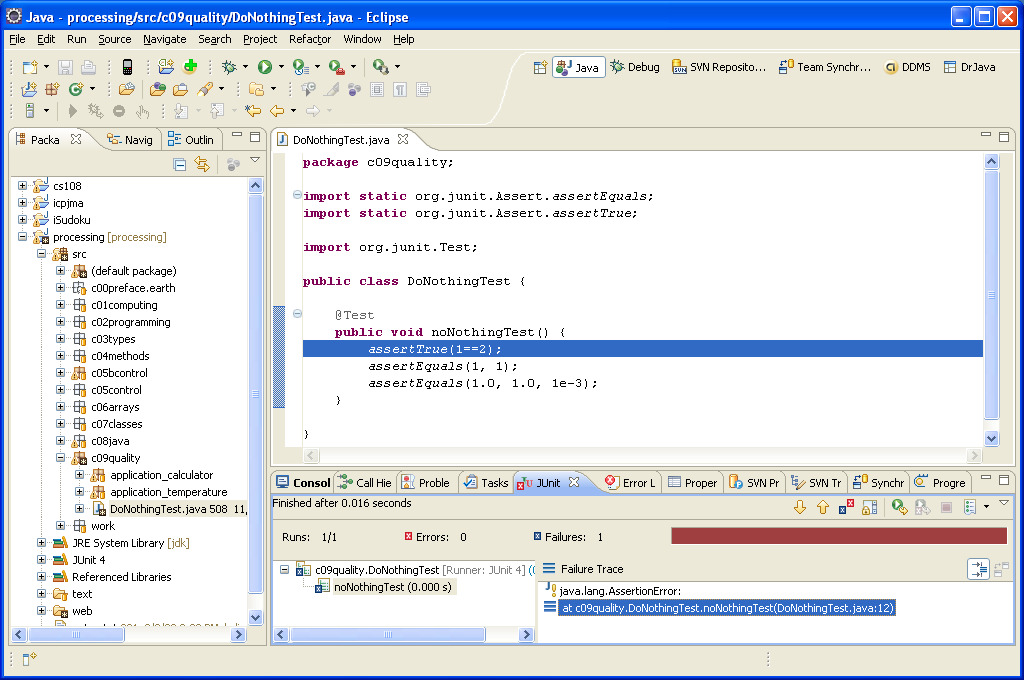
factor of 1e-3).If any one of the test cases, JUnit displays a red bar and an error message on the right. You
can jump directly to the test statement that caused the error using Eclipse’s “Go To
File” tool (double-click on the error line in the JUnit output). The following image shows the
results for a failed test of 1==2.
Modify your test case so that it fails, run it and note the output you get. Make sure that you can jump to the line that caused the error.